User on boarding Walkthrough: Power Apps Portal way


On boarding users to a tenant have always been a challenge. Various solutions exist in the market and needs to be customized as per business processes. Customizing will add to the problem of maintenance of Code.
In the blog, we are going to cover “No Code Solution” Design. Covering up on the aspects of inviting a new user or an external user to a Tenant and providing seamless onboarding of external user to the PowerApps Portal.
Walkthrough of the post will help you to perform below operations which can be leveraged in most of the user on boarding scenarios.
- Add external user to a Tenant.
- Add external user to the Customer Power Apps Portal.
- Send invitation emails to the end user.
Setup
let us configure the entities, flows and PowerApps Portal for seamless on boarding of the user.
Create Entity to Track Request
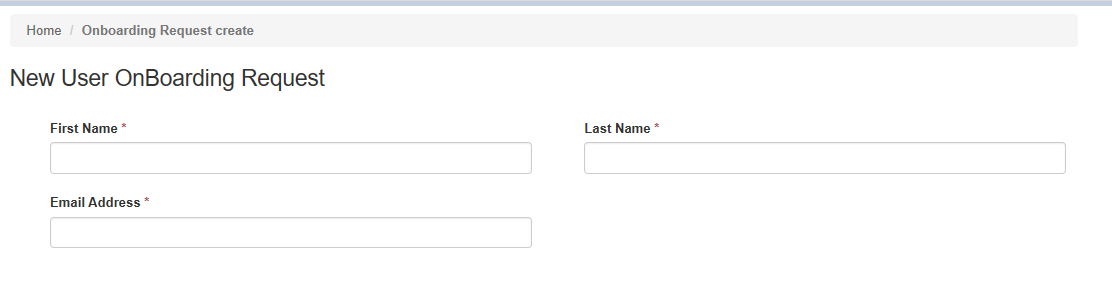
We will have custom entity called UserOnBoardingRequest entity with fields first name, last name, Email Address and Invite Status.
Invite status is an option set with values Queued, Pending Acceptance, Accepted or Rejected Status.
We will have form in Power Apps Portal to add record for UserOnBoardingRequest entity. UserOnBoardingRequest entity will be leveraged to keep track of users onboarded through the Power Apps Portal,
Create Flows
For Onboarding user to Azure AD tenant we need to create below flows.
- Triggered flow “When a User On Boarding Record is updated -> Send User Invitation”
- Scheduled flow “Recurrence Pending Acceptance Check -> List records”
Flow 1 : “When a User On Boarding Record is updated -> Send User Invitation”
Flow gets triggered on an update for the invitation status field on UserOnBoardingRequest entity.
Operations performed by the flow are.
- Check if user exists and already onboarded, if already onboarded, update the request status to Accepted state.
- If User does not exist in the Azure Active Directory, flow sends out Azure Active Directory invite request.
let us configure a New flow triggered for updates done to the UserOnBoardingRequest entity specifically on invitation status field as below.

Let’s Create a http request action “Fetch User Information” to check if user exists by leveraging Microsoft Graph.

the output of the action will be the status of the user invite and can be accessed by externalUserState property.
Check the externalUserState response value to see if user accepted the Guest invite, if yes update the request to the Acceptance state.

If user has not accepted the invite, we will have HttpRequest action “Send Invitation” which will send invite to the guest user email address.

Here the Microsoft Graph API accepts parameters, the display name which is combination of first and last name, email address and redirect URL as well. On successful invite, AAD will mark the Guest user state to “PendingAcceptance”.
Flow 2 : “Recurrence Pending Acceptance Check -> List records”
A recurrent flow, checks for requests in pending acceptance status and performs Microsoft Graph API call to check if user is Accepted or Rejected state. Accordingly the request is updated to the Accepted or Rejected state.
Create a Recurrence flow running at intervals of 30 minute.

Fetch all the request that are in pending acceptance check.

for each of the request check the status of guest invite status by performing graph call.
Check the response externalUserState if Accepted go ahead and create a contact record with the first name, last name and email address to provision user for customer Portal.
Setup Site Settings in the Customer Power Apps Portal
In the Customer Power Apps Portal setting, set site setting AllowContactMappingWithEmail value to true. This allows a staff member to register on the Portal using Azure AD and be connected to an existing contact record.
Execution
We will have form in Power Apps Portal to add record for User OnBoardingRequest
- Existing or admin User will create a UserOnBoardingRequest record by filling up first name, last name and email address.
- User clicks submit, Guest Invitation email is sent.

New user will accept the guest invite with mentioned email address and gets provisioned to the Customer Portal.
Summary
Overall we learnt in the blog post “A Complete No Code Solution” , pretty easy to on board users to a tenant using custom Power Apps Portal and leveraging the power of Power Automate to perform complex Microsoft Graph API User requests. The Blog steps can be modified to achieve additional functionality for implementing of organizational process.
