Announcing the new Sales Companion sample app


- Empower your sales team with product information at their fingertips
- Capture Opportunities and Contacts in Dynamics 365 for Customer Engagement
- Engage your customers and send them product information
- Scan barcodes to lookup product information
Videos
- Watch an end to end demo of the Sales Buddy PowerApps sample
- Watch the setup and installation video
Installation steps (10 – 15 minutes)
Prerequisites
Download and deploy the Microsoft Dynamics CRM package
-
Download the Microsoft Dynamics CRM deploy package and save it to your machine.
-
Right click on the .zip file, select properties, and unblock.
-
Extract the contents of the zip file to any folder.
-
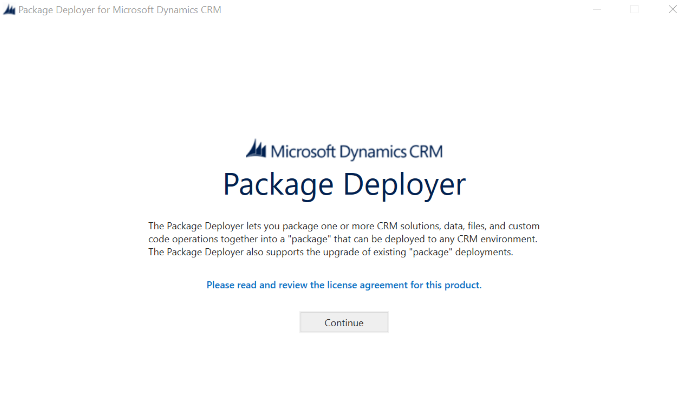
Run the Package Deployer tool by double-clicking the PackageDeployer.exe file.
-
Click Continue on the main screen.
-
In the Connect to Microsoft Dynamics 365 screen, provide authentication details to connect to your Dynamics 365 server where you want to deploy the package.
Important: The specified user must have the System Administrator role in Dynamics CRM.
Note: If you have multiple organizations, check the Display list of available organizations check box.
-
Click Login.
-
If you have multiple organizations on your Dynamics 365 server, select the Dynamics 365 organization to connect to.
-
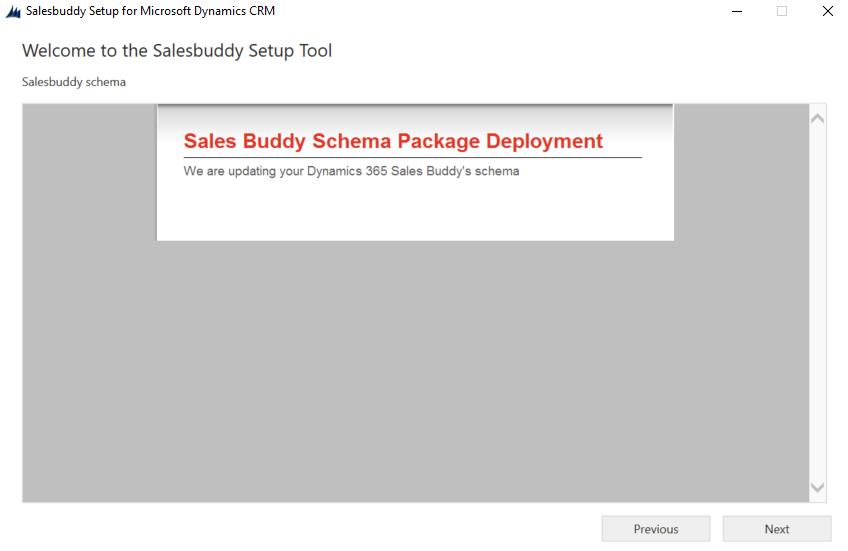
Follow the instructions on the subsequent screens to complete the deployment of the package.
Create Connections
- In a web browser, navigate to https://web.powerapps.com .
- Sign in by providing the same credentials that you used to sign up.
- In the menu on the left, select Connections.
Create Dynamics 365 Connection
- Click + New connection.
- In the Search textbox, enter Dynamics.
- Select Dynamics 365 in the list.
- Click Create.
Create Office 365 Outlook Connection
- Click + New connection.
- In the Search textbox, enter Office 365 Outlook.
- Select Office 365 Outlook in the list.
- Click Create.
- In the popup window, select the account you logged in with.
Create Office 365 Users Connection
- Click + New connection.
- In the Search textbox, enter Office 365 Users.
- Select Office 365 Users in the list.
- Click Create.
- In the popup window, select the account you logged in with.
Download the Sales Buddy PowerApp
-
Download the Sales Buddy PowerApps Sample package and save it to your machine.
Import the Sales Buddy PowerApp
-
In a web browser, navigate to https://web.powerapps.com .
-
Sign in by providing the same credentials that you used to sign up.
-
In the menu on the left, select Apps.
-
Click Import package(preview).

-
Click the Upload button and select the PowerApp package you downloaded.
-
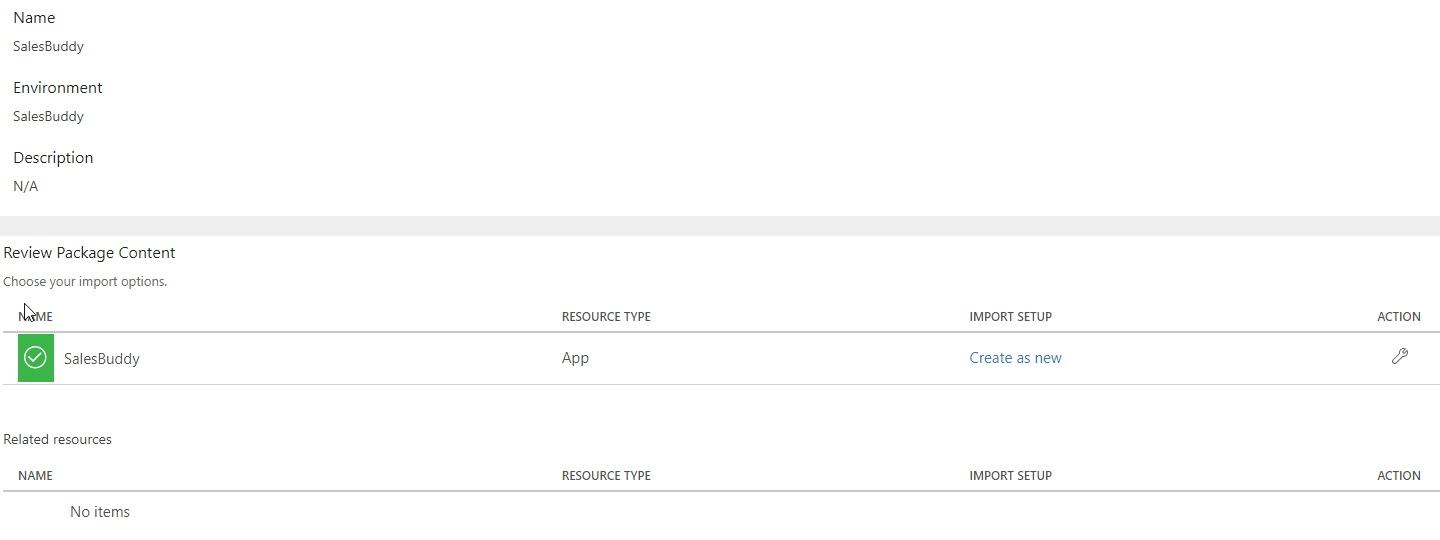
For the App resource types, set IMPORT SETUP to Create as new.
-
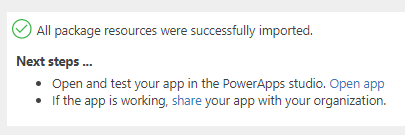
Click Import and wait until the process completes.
Configure the PowerApp to use Dynamics 365
- In the web browser, click Apps.
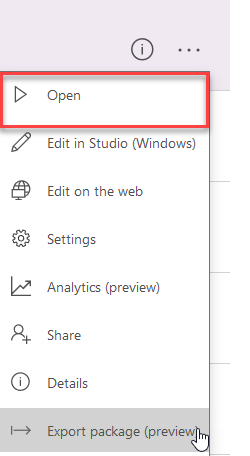
- Click the ellipses next to the SalesBuddy PowerApp.
- Click Edit on the web.
- Click Allow.
Delete the connections to Dynamics 365 tables
- Click View.
- Click Data sources.
- In the Data pane, click the ellipses next to Accounts.
- Click Remove.
- In the Data pane, click the ellipses next to Contacts.
- Click Remove.
- In the Data pane, click the ellipses next to Products.
- Click Remove.
- In the Data pane, click the ellipses next to Opportunities.
- Click Remove.
- In the Data pane, click the ellipses next to Opportunity Lines.
- Click Remove.
Recreate the connections to the Dynamics 365 tables
-
Click View.
-
Click Data sources.
-
In the Data pane, click + Add data source.
-
Click + New connection.
-
Select Dynamics 365.
-
Select the name of your Dynamics instance.
-
Select Contacts.
-
Click Connect.
-
Repeat the same steps to add the following tables:
Accounts, Products, Opportunities, Opportunity Lines
Play the PowerApp
-
In the web browser, click Apps.
-
Click the ellipses next to the SalesBuddy PowerApp.
-
Click Open.
Watch this video to see how to use the Sales Buddy PowerApp sample.
Sample bar code images
These bar code images correlate to the products added by the Package Deployer package. You can use them to demonstrate the bar code scanning functionality in the app. Dowload
Connectors
Sales Buddy uses the following Connectors to access Office 365 Services.
We hope you enjoy Sales Buddy and look forward to hearing how you extend it for your organization!
